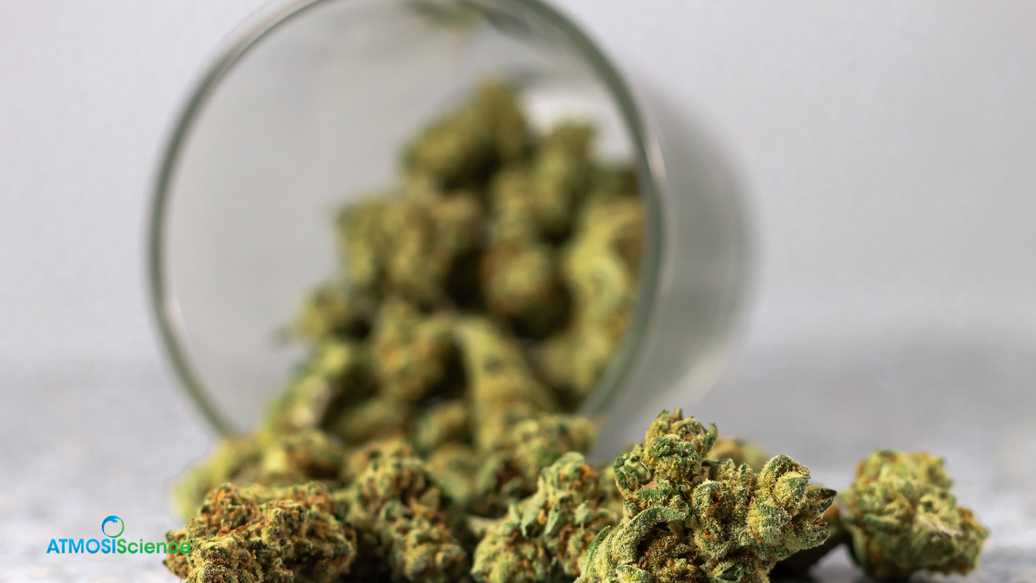
For decades the home-grow cure meant one thing: mason jars, a burping schedule taped to the shelf, and the quiet anxiety of opening jar #7 to a damp smell. Bag curing changes the mechanics — instead of a sealed glass vessel that traps whatever moisture is inside, a purpose-built curing pouch regulates moisture continuously. Here's how it works and how to run it.
Why jars need burping in the first place
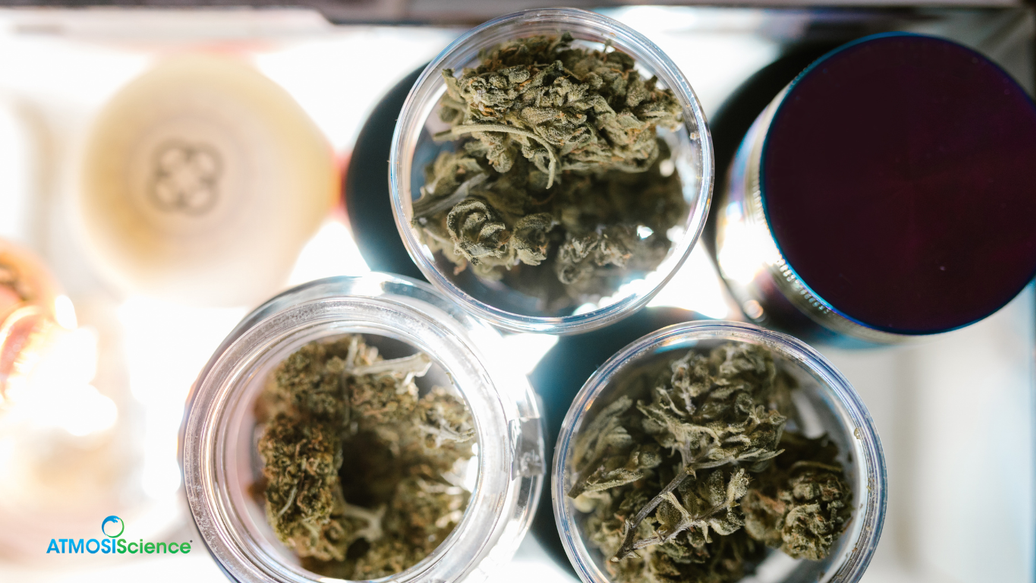
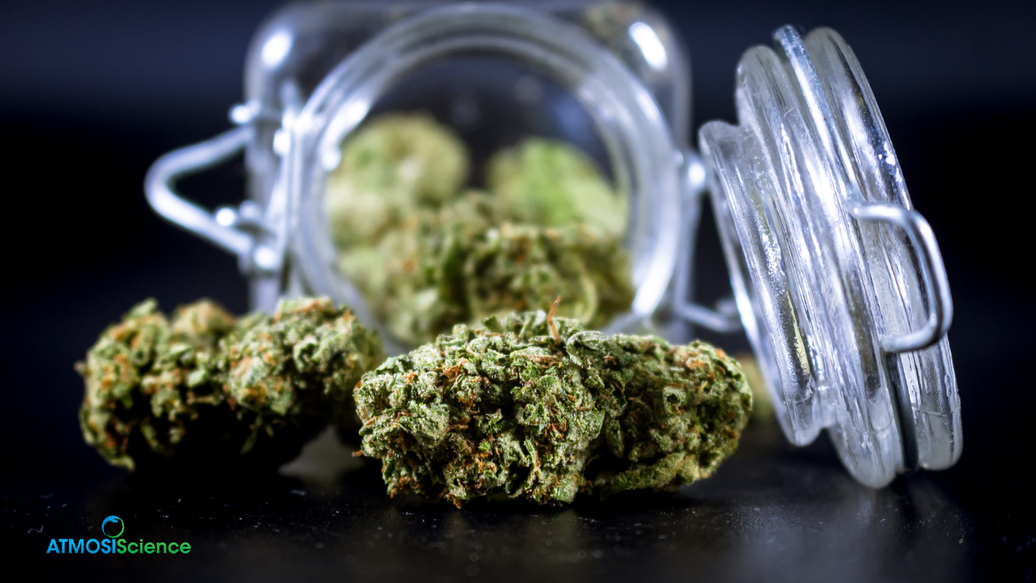
Glass is a perfect moisture barrier. When slightly-wet buds go into a sealed jar, the moisture they release has nowhere to go — RH climbs, and above ~65% the mold clock starts. Burping is the manual fix: open the jar, vent the humid air, reseal, repeat daily for weeks. Miss a few days early on and the consequences range from harsh flower to a lost jar. The full schedule is in our jar burping guide — it works, but it's labor.
How bag curing works instead
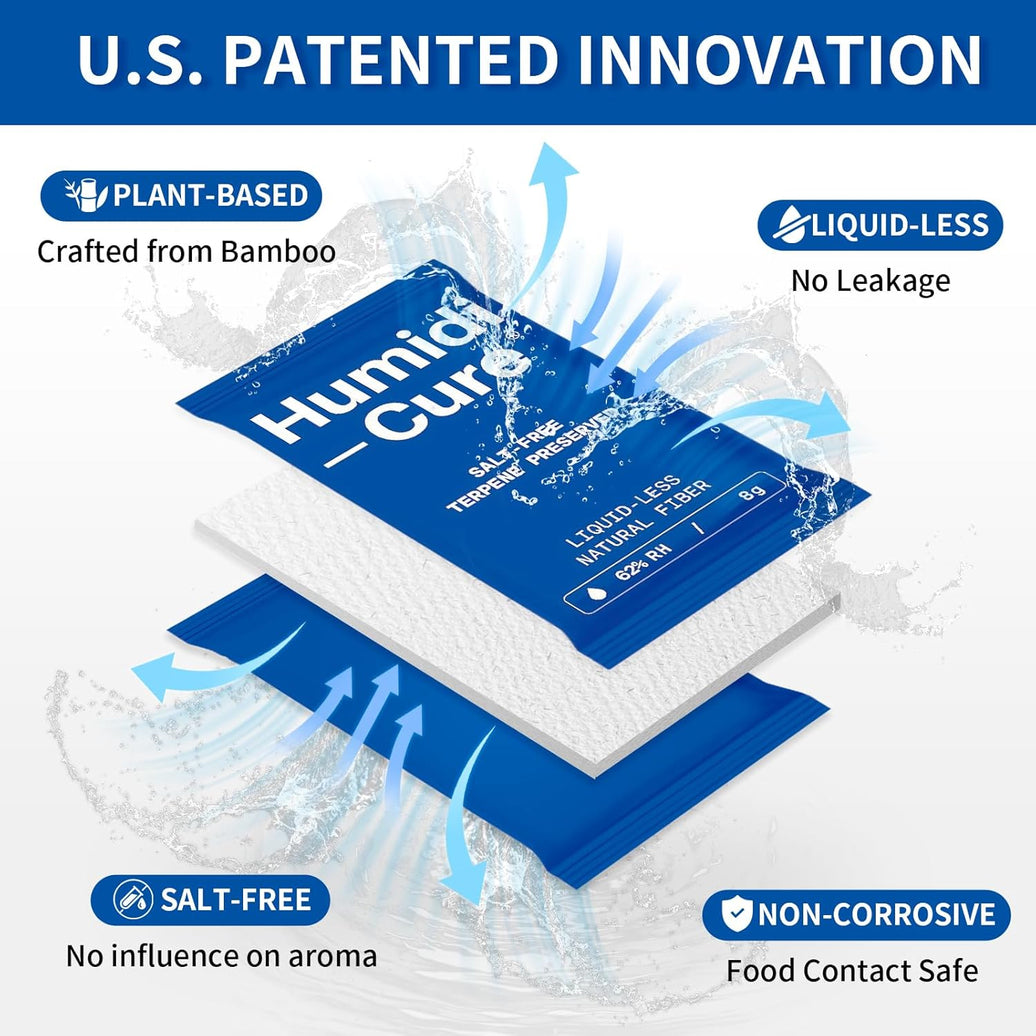
A proper curing bag does two jobs simultaneously. A breathable inner film lets water vapor migrate out at a controlled rate — the slow, even moisture release a cure requires — while a 2-way humidity control layer absorbs excess moisture when buds run wet and releases it back if they run dry, holding the interior at a setpoint. The result is a cure that self-regulates: no burping schedule, no RH spikes after a missed day, no guessing.
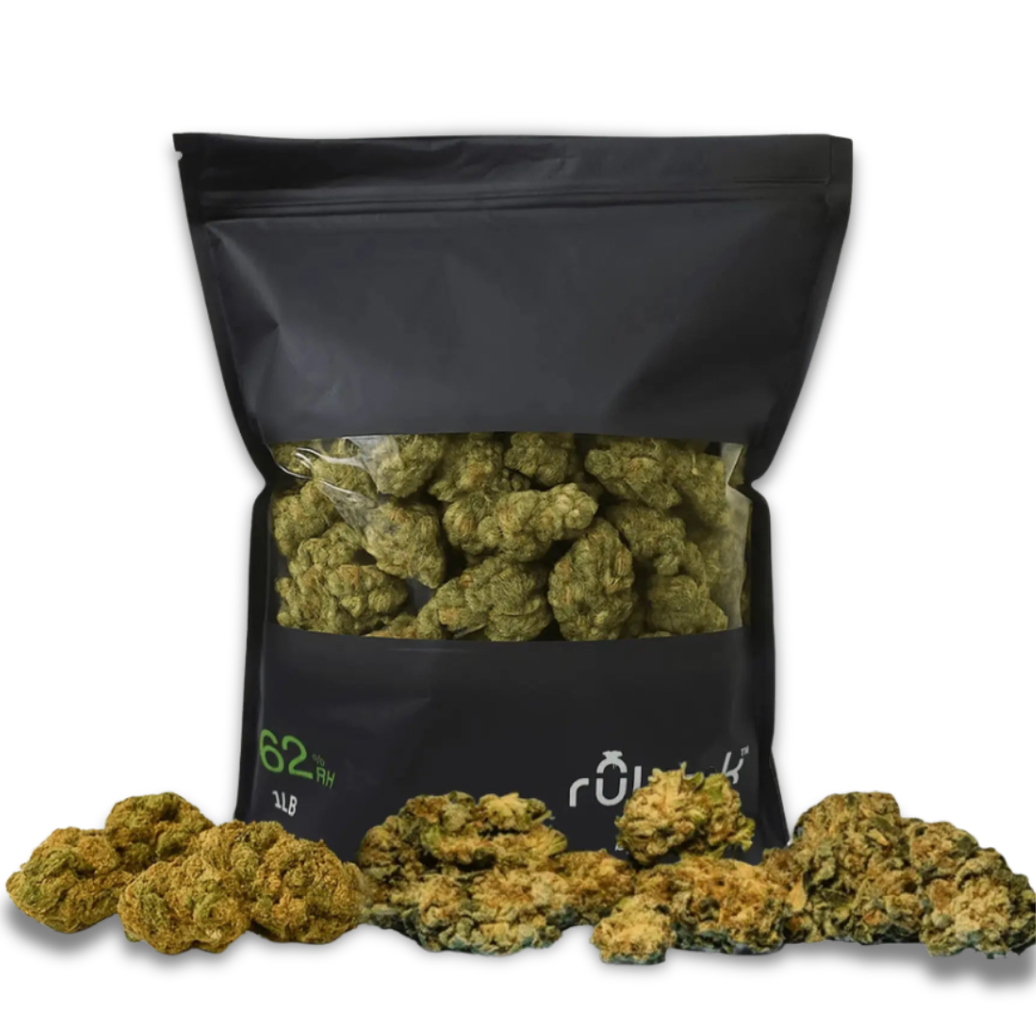
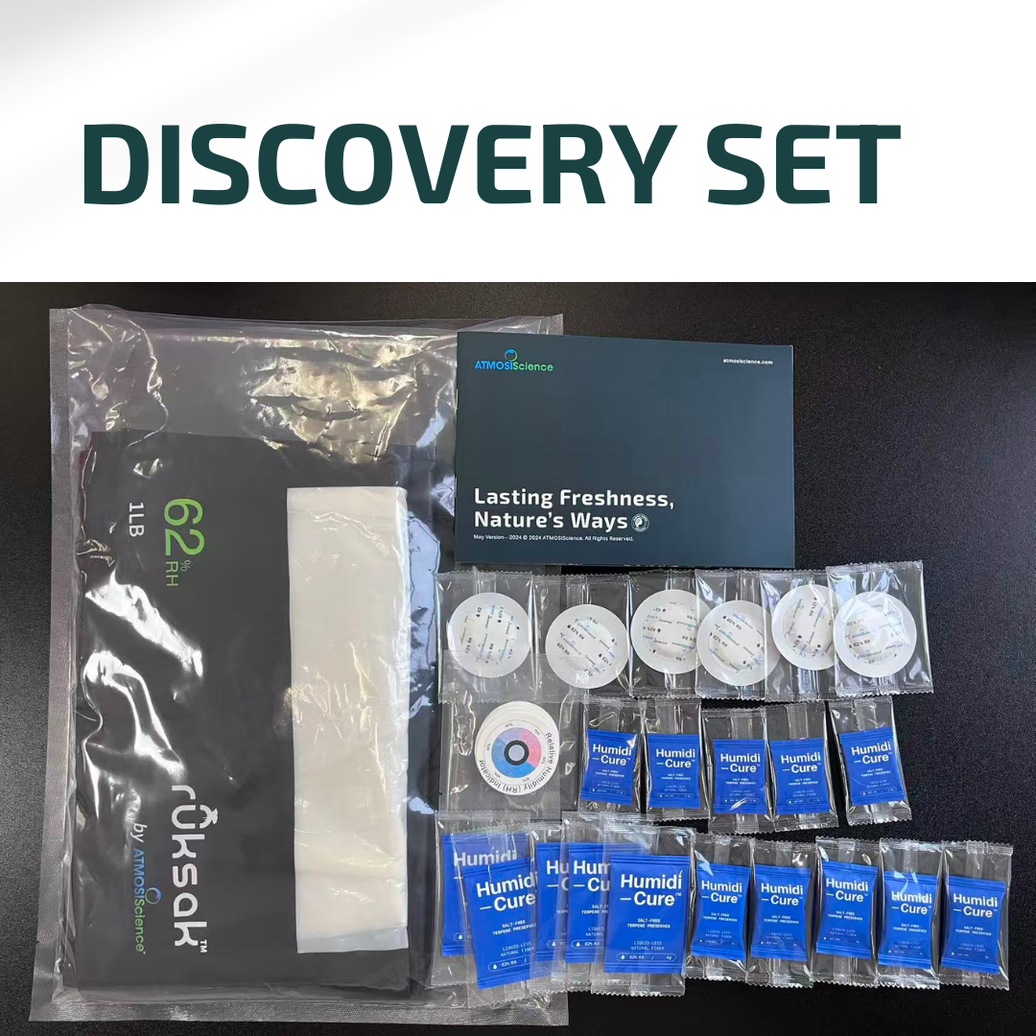
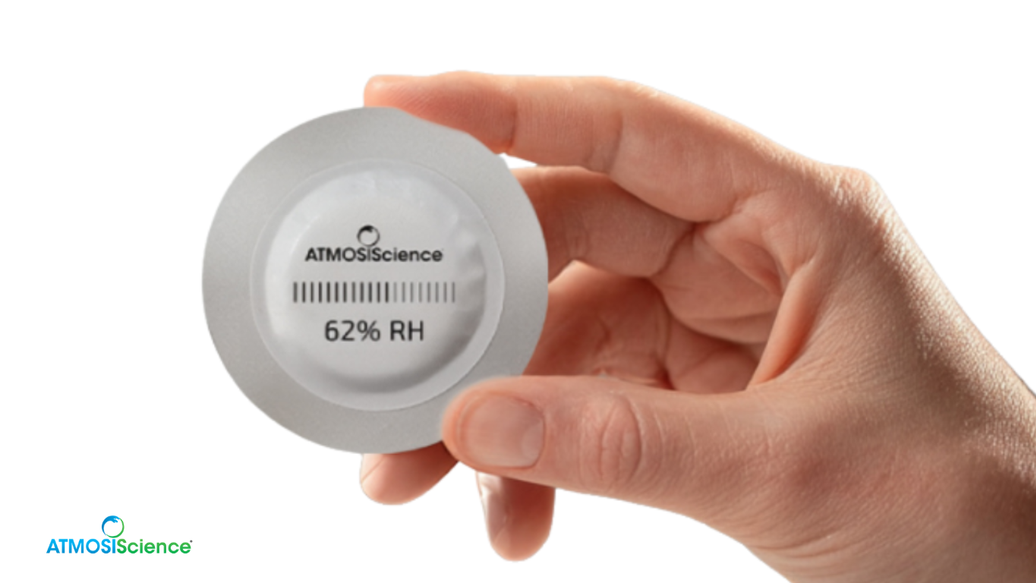
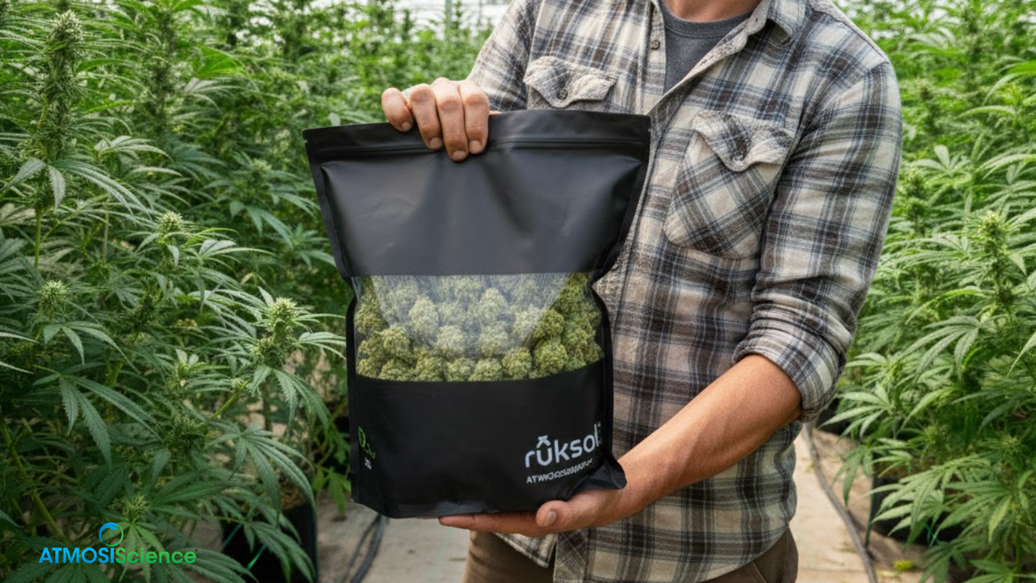
This is exactly the architecture of ruksak™ by ATMOSIScience: a matte-black child-resistant pouch with an opaque outer barrier film, a breathable inner film, and a customizable 2-way humidity-control fiber layer tuned to 62% RH — the standard for cured flower. MCR Labs testing confirmed its hold. The mechanism is the “smart sponge” effect: fiber that buffers moisture in both directions.
Bag curing protocol, step by step
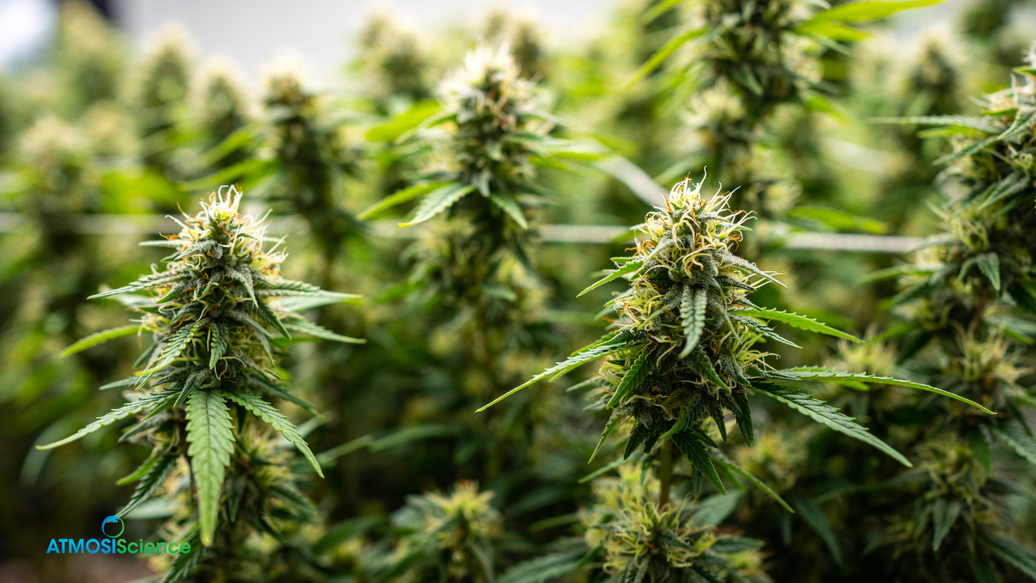
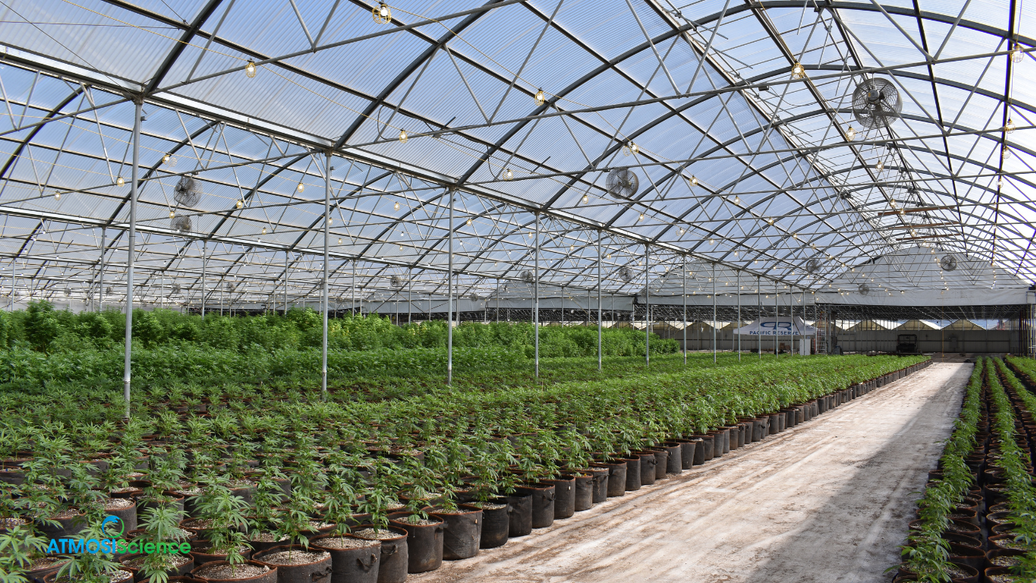
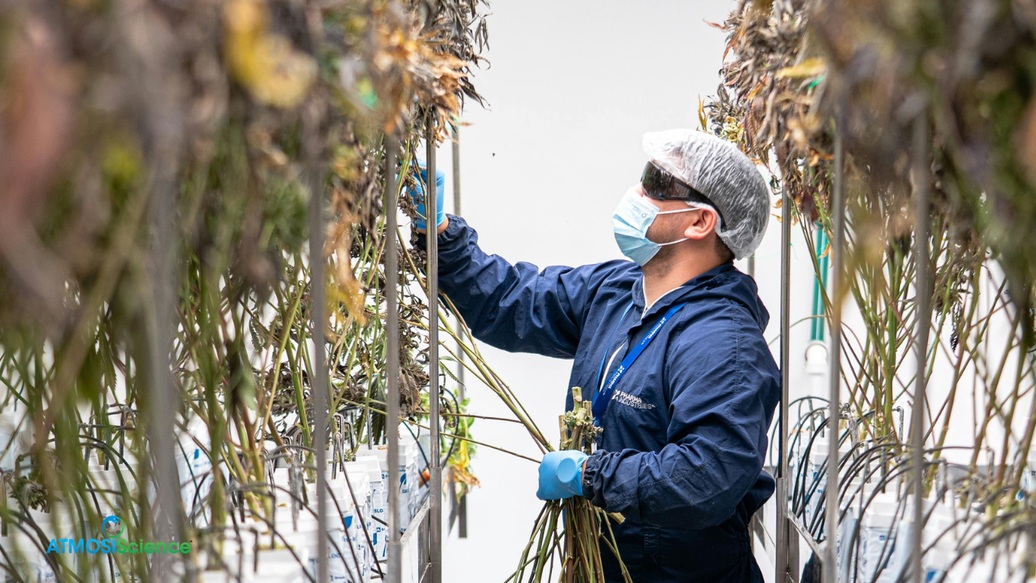
1. Dry first, as usual. Bag curing replaces the jar stage, not the dry. Hang until small stems snap (7–14 days at 60°F / 55–60% RH).
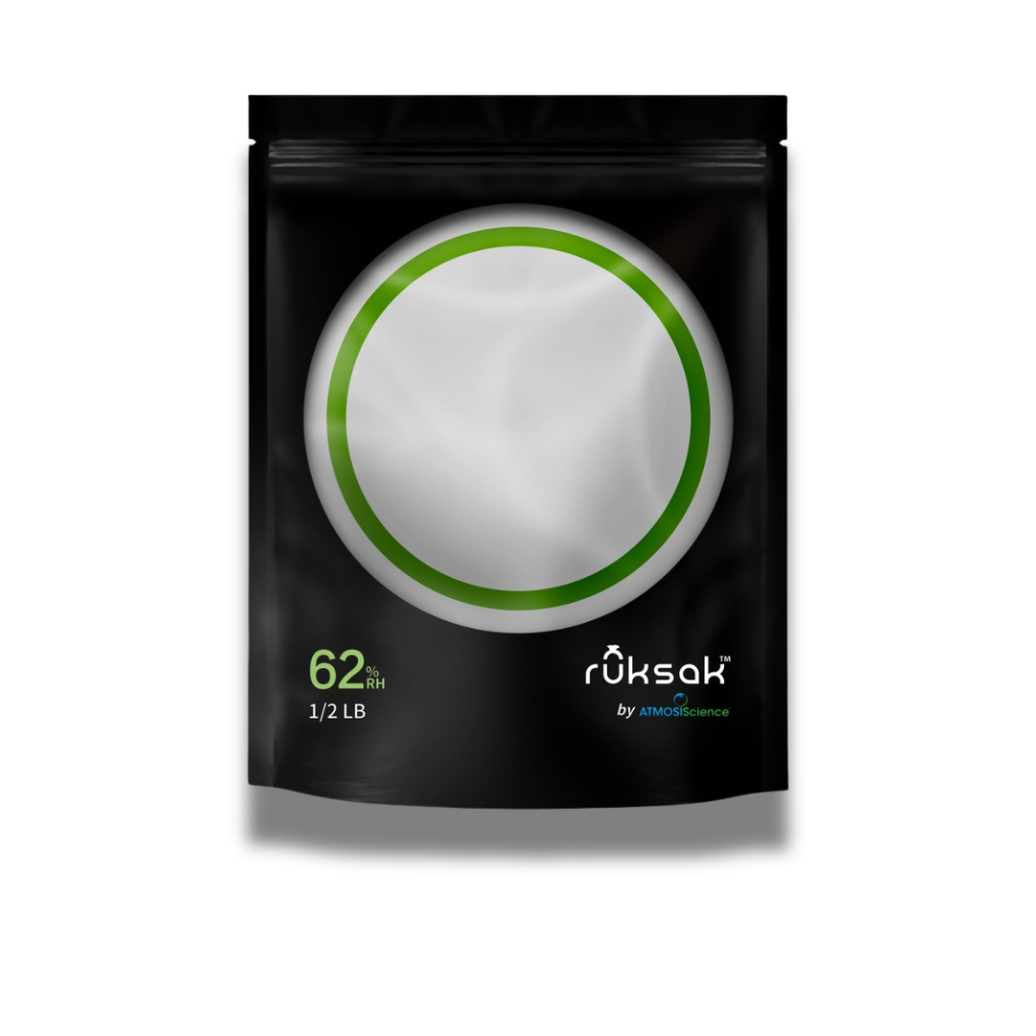
2. Load buds loosely. Fill the pouch without compressing — a 1 lb ruksak comfortably cures a typical single-plant harvest; the ½ lb size suits smaller tents.
3. Seal and store cool and dark. 60–70°F, away from light.
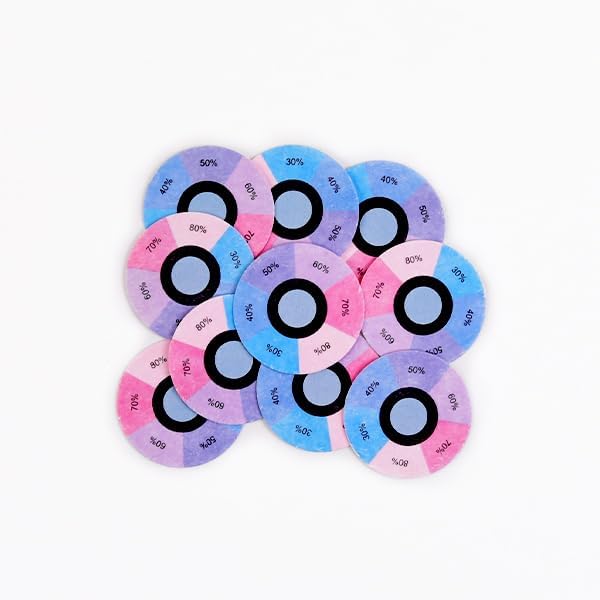
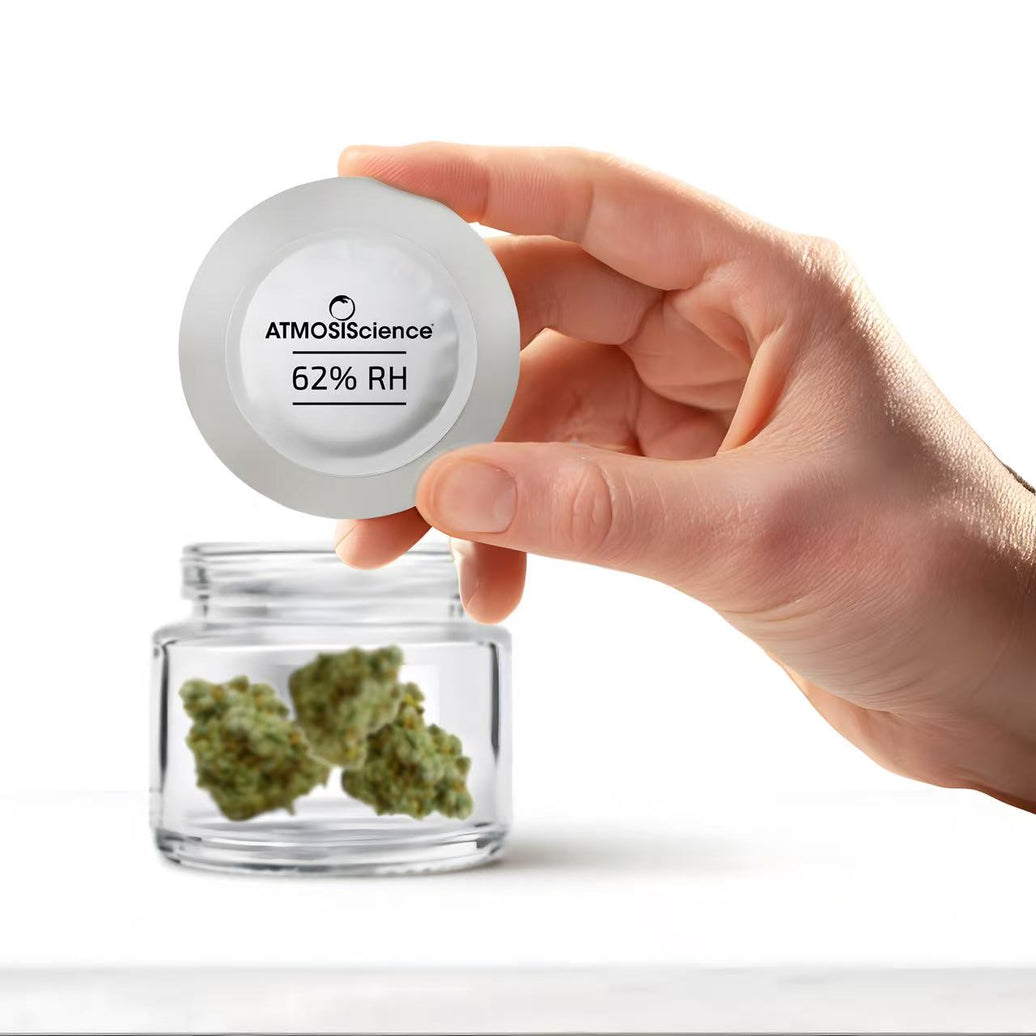
4. Check at week 1 and week 2. Buds should feel uniformly springy. An RH indicator card dropped inside gives a visual readout without opening.
5. Cure 2–4 weeks, then store in the same bag. The pouch transitions from curing vessel to long-term storage — one container, seed to stash.
Bag vs jar: the honest comparison
| Factor | Mason jar | ruksak™ curing pouch |
|---|---|---|
| Burping required | Daily, then weekly | None — self-regulating |
| RH control | Manual (add packs, burp) | Built-in 2-way, 62% RH |
| Light protection | None (clear glass) | Opaque film + window |
| Child resistance | No | Yes — CR zipper |
| Capacity per container | ~1 oz per quart | Up to 1 lb |
A deeper teardown is in ruksak vs mason jar vs mylar.
Cure a whole harvest in one bag
ruksak™ cures and stores up to 1 lb at a steady 62% RH — breathable film, 2-way fiber control, child-resistant zipper. Lab-tested by MCR Labs.
Shop ruksak 1 lbShop ruksak ½ lbFAQ
Can you cure weed in a regular mylar bag?
Plain mylar is a sealed barrier like glass — it traps moisture and still needs burping, with less mold visibility. Purpose-built breathable curing pouches behave differently; see trapping vs managing moisture.
How long does bag curing take?
The same 2–4 weeks as jars — the difference is labor, consistency, and what happens if you forget a day (nothing).
Do bags work for small harvests?
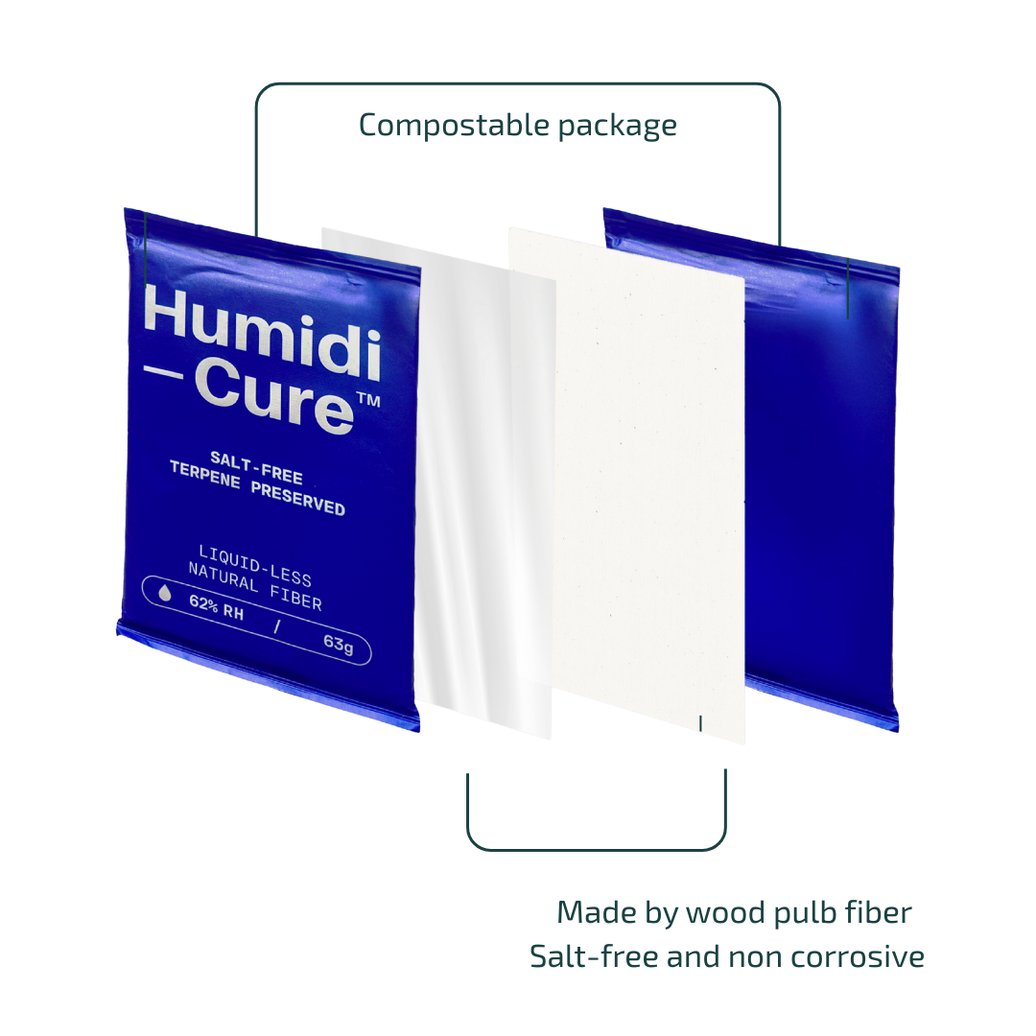
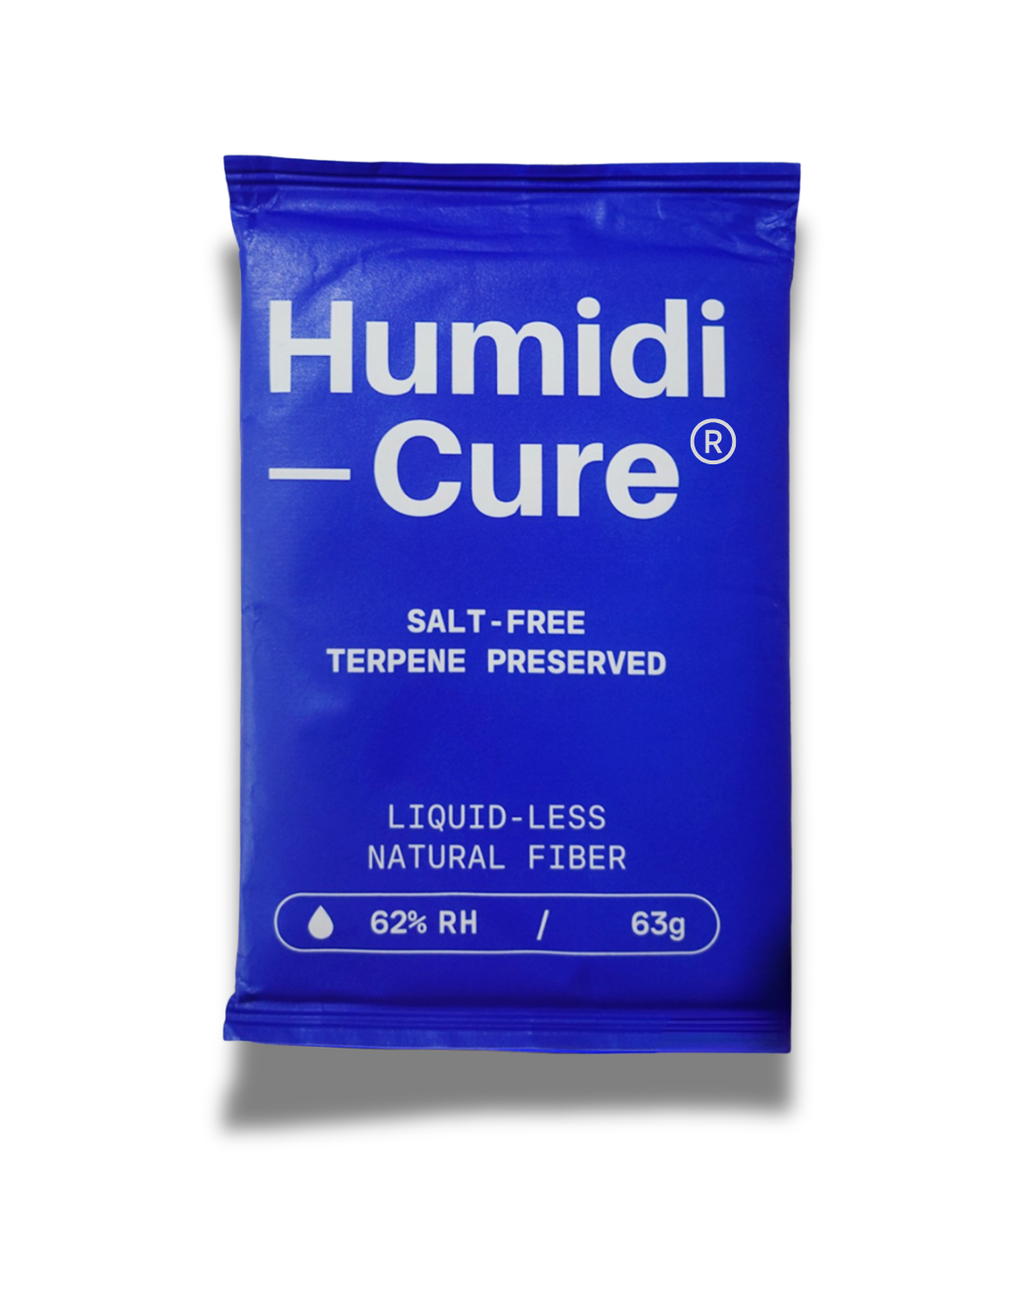
Yes — the ½ lb ruksak suits 2–8 oz harvests. For an ounce or two, a quart jar with a Humidi-Cure® 62% pack is the economical route.