Mastering how to harvest cannabis and dry it correctly is essential to preserve cannabinoids, lock in terpenes, and deliver flavorful, potent flower. In this guide, you’ll learn step-by-step techniques for harvesting drying and curing cannabis, from determining the ideal harvest window to storing finished buds. You’ll also discover best practices for harvest and dry cannabis methods, how to dry cannabis after harvest safely, and advanced tips for how to harvest and dry cannabis that yield top-shelf results. Follow along and unlock the full potential of your cultivation efforts.

Determining optimal harvest time
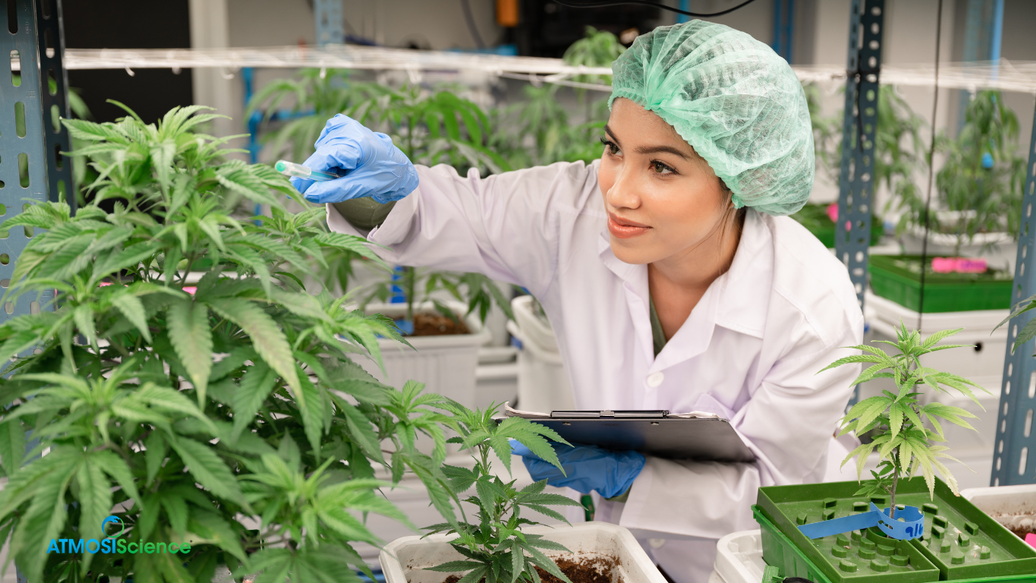
Identifying the right moment to harvest sets the foundation for successful harvest and dry cannabis workflows. Harvest too early, and you sacrifice potency; wait too long, and you risk degraded cannabinoids and harsh smoke.
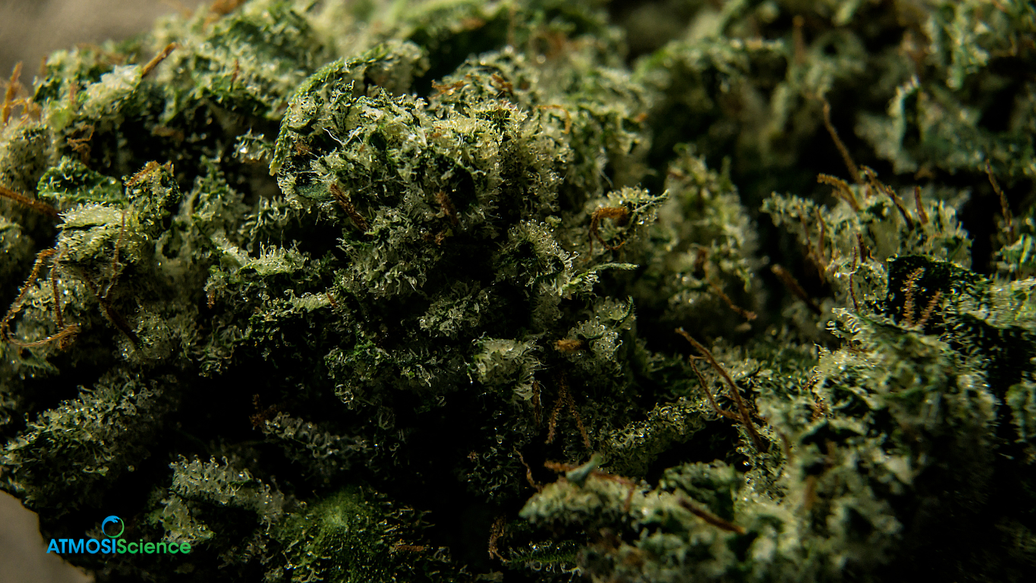
Trichome inspection
Examine trichomes using a handheld loupe or microscope. When most trichomes transition from clear to milky white, you have peak THC levels. Amber trichomes signal conversion to CBN, which imparts a more sedative effect. For balanced psychoactivity, target a ratio of 70% milky to 30% amber trichomes. Tracking these phases is critical in how to harvest cannabis and dry it for desired effects.
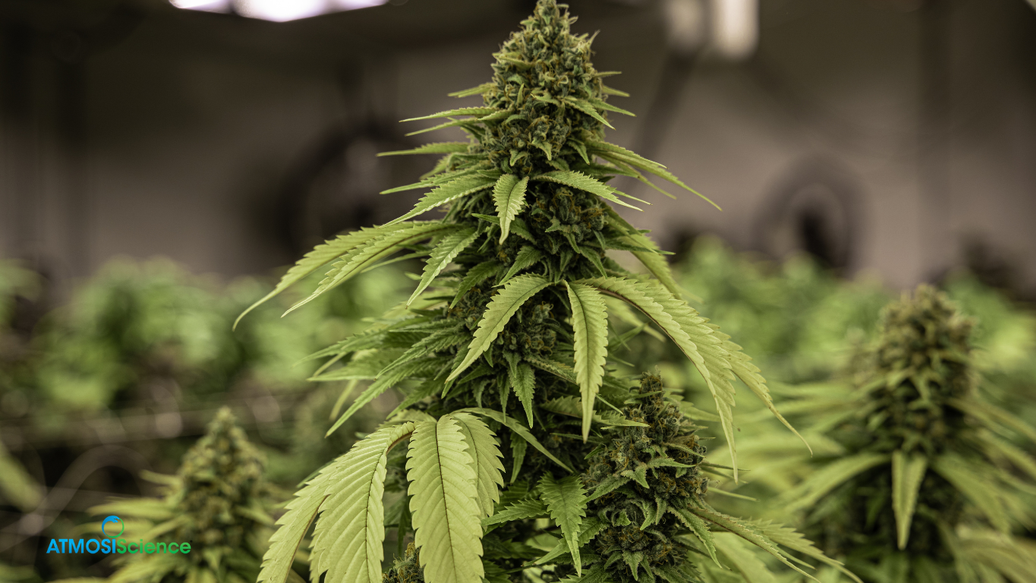
Pistil and leaf cues
Pistils darken from white to orange or red as plants mature. Similarly, fan leaves yellow and droop—natural signs that nutrients are mobilizing to flowers. Cross-reference pistil color with trichome maturity to fine-tune timing.
Academic insights
Research in the Journal of Cannabis Research indicates THC begins to degrade within hours of cutting if buds remain wet and warm. Harvesting at optimum trichome color reduces cannabinoid loss during how to dry cannabis after harvest processes, maximizing potency retention.
Harvesting techniques

Your cutting method impacts airflow, drying speed, and overall bud integrity when you harvest and dry cannabis.
Whole-plant vs. branch harvest
- Whole-plant: Hang the entire plant upside down. Pros: uniform drying, minimal handling. Cons: requires ample vertical space and slower airflow to inner buds.
- Branch-by-branch: Cut individual limbs for hanging. Pros: easier manipulation, better airflow around each bud. Cons: slightly more labor during harvest.
Tools and sterilization
Always use sharp stainless steel shears sanitized with isopropyl alcohol between cuts. This prevents microbial contamination that can spoil your drying process. Proper tool hygiene plays a central role in harvesting drying and curing cannabis without mold or bacteria.
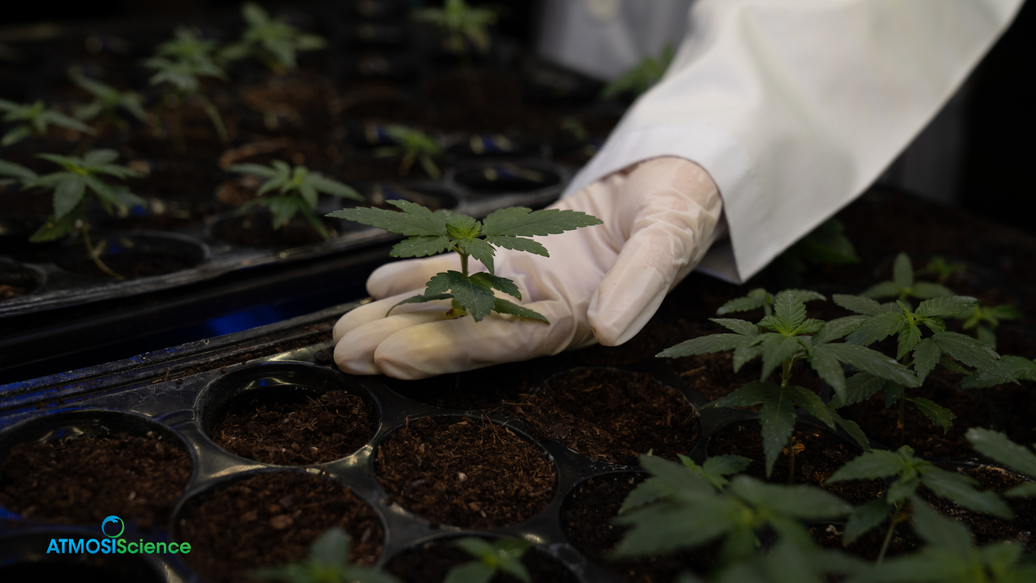
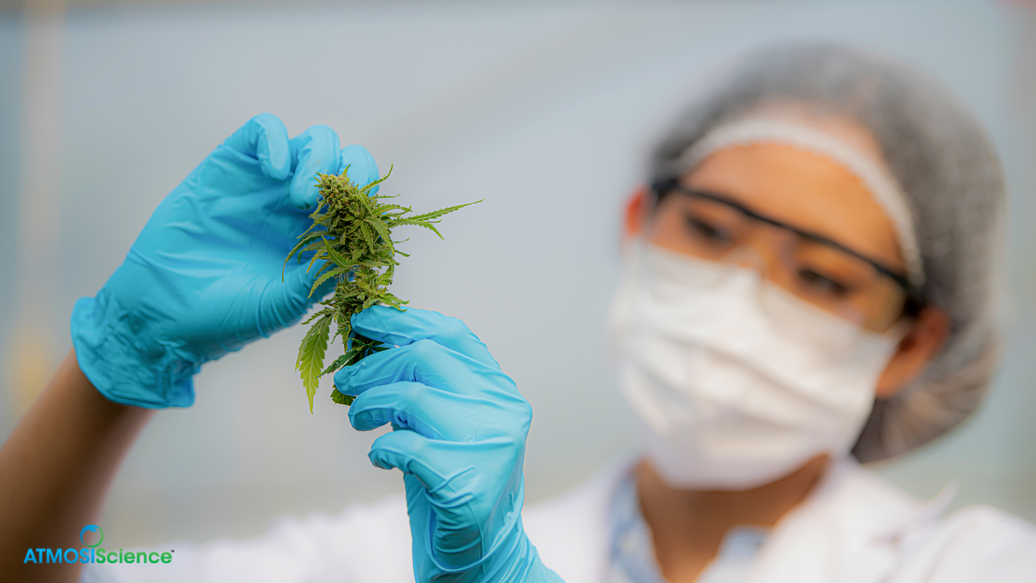
Pre-dry preparation
Remove large fan leaves to reduce moisture load and improve airflow. Lightly trim “sugar leaves” close to buds for a cleaner final product. This step streamlines how to harvest and dry cannabis, speeding drying and reducing the need for extensive post-dry trimming.
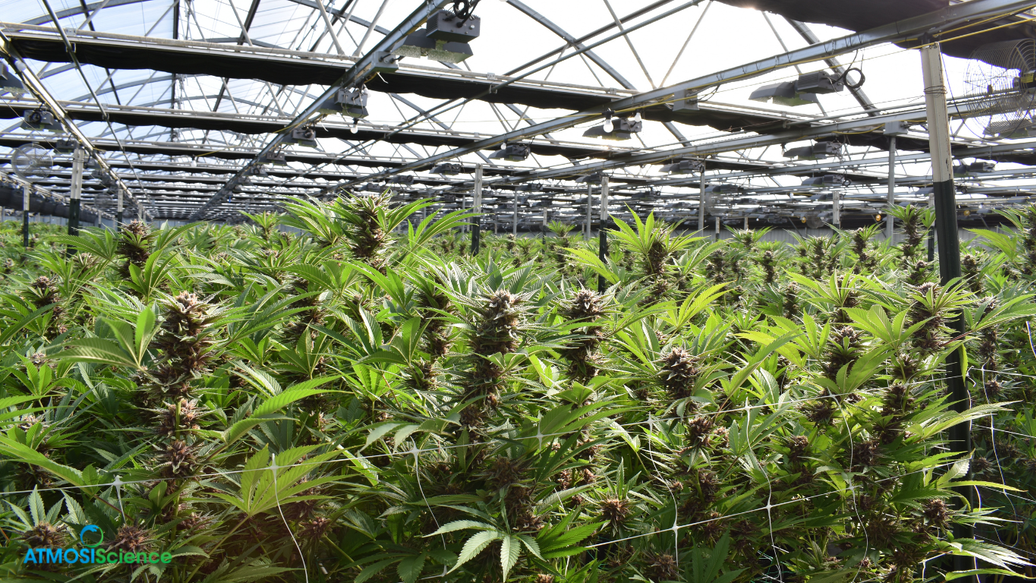
Drying cannabis
Drying is the most critical phase of how to harvest cannabis and dry it, dictating flavor, potency, and mold risk.
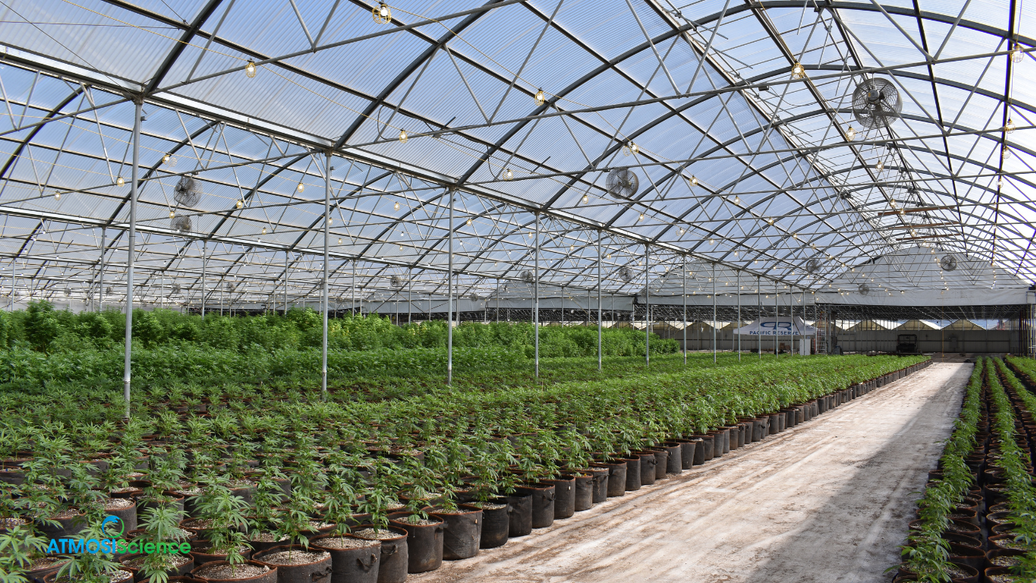
Controlled environment parameters
Maintain 18–22 °C (64–72 °F) with 50–60% relative humidity control. Too warm or humid, and mold emerges; too cool or dry, and terpenes volatilize, leaving bland flower. Use a thermostat and hygrometer in your drying room to monitor conditions.
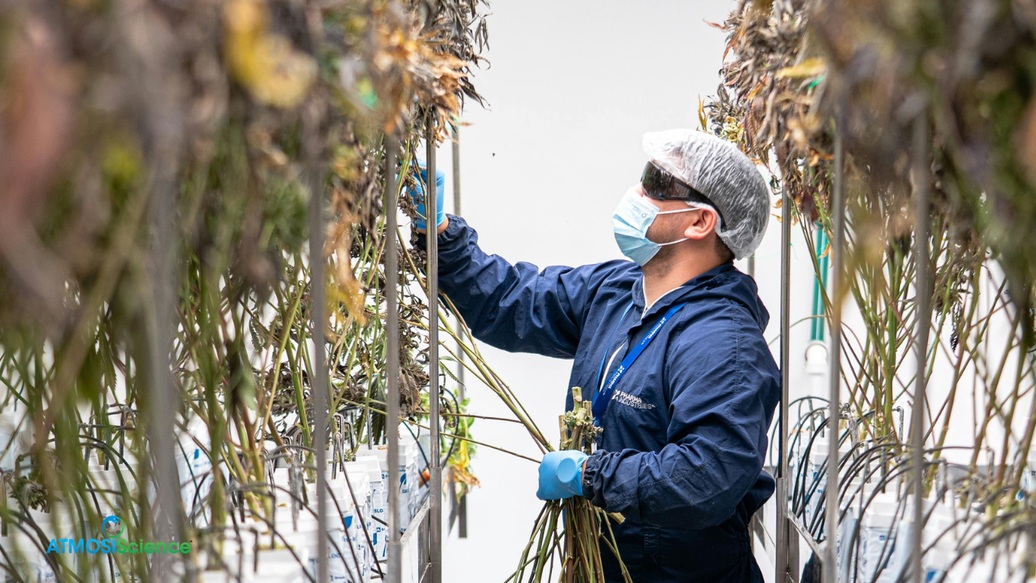
Drying methods
- Hanging whole branches: Ideal for large yields; branches retain structure but inner buds may dry slower.
- Rack drying buds: Faster, more uniform; however, small buds can flatten under weight

Decide based on your grow scale and space. Both approaches require gentle air circulation: fans should aim above or beside hanging buds—never directly on them.
Dry vs. wet trimming
- Dry trimming: Trim after drying for crisp edges and reduced moisture pockets. Favored by commercial cultivators for aesthetics and sell-ready appearance.
- Wet trimming: Trim immediately after harvest. Easier leaf removal when leaves are supple, but can slow drying due to increased exposed surface area.
Drying duration and endpoint
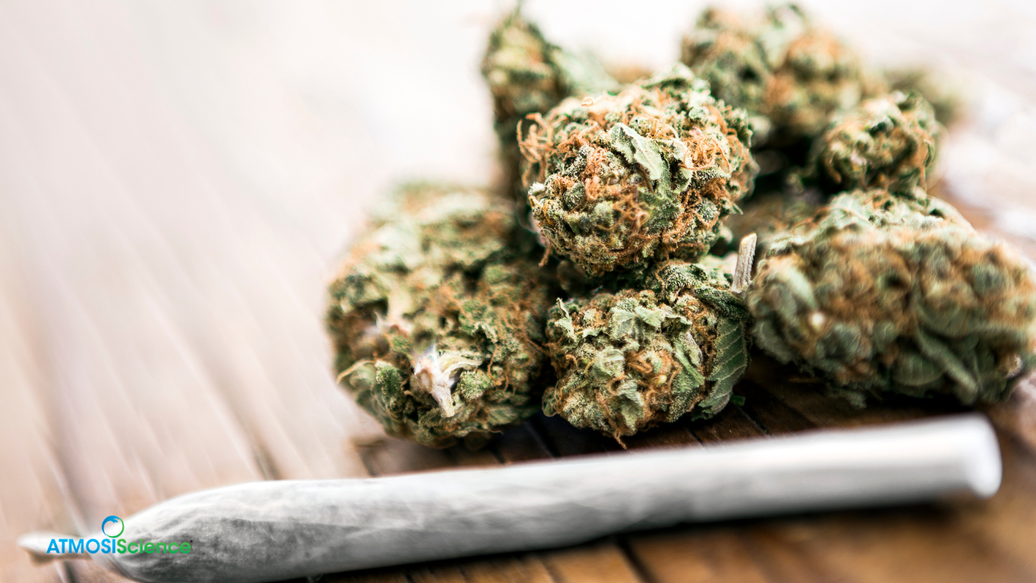
Typical drying lasts 7–14 days. Test readiness with the “snap test”: a thin stem should break cleanly, not bend. Buds still bending indicate residual moisture. Mastering how to dry cannabis after harvest ensures consistent dryness without over-drying.
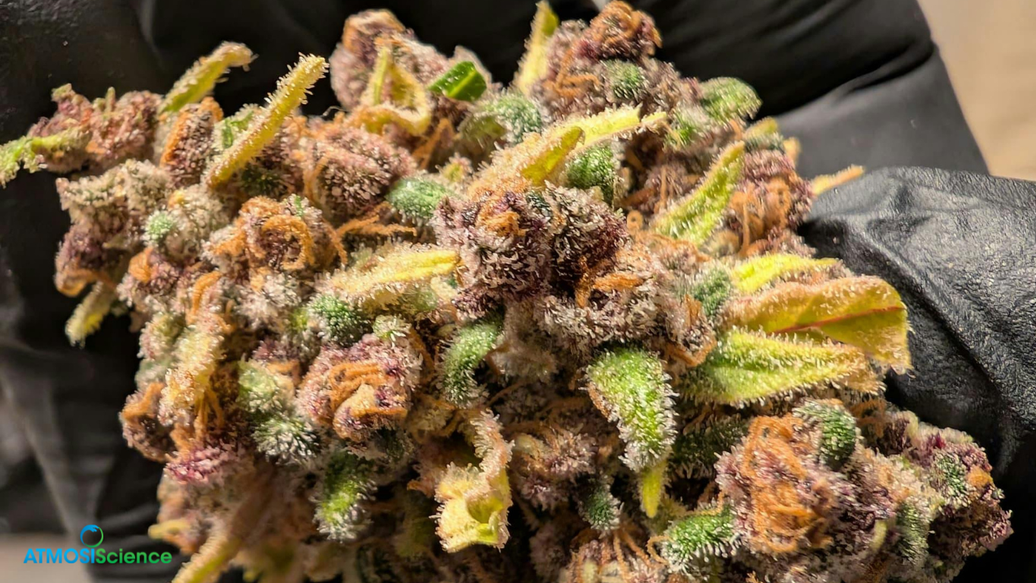
Preventing mold
Monitor daily for white fuzz or off-odors. If mold appears, isolate affected buds and increase airflow or lower humidity immediately. Incorporate findings from Mycology Reports showing that maintaining 55–60% RH reduces mold by over 40% compared to 65% RH.
Curing cannabis
Cannabis curing transforms dried flowers into premium-quality buds, refining aroma, potency, and smoothness.
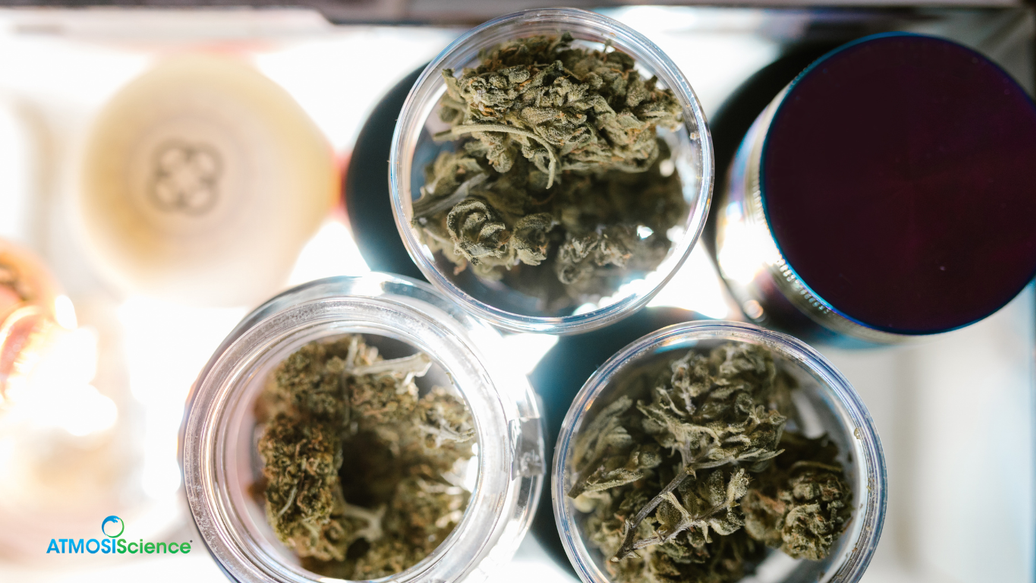
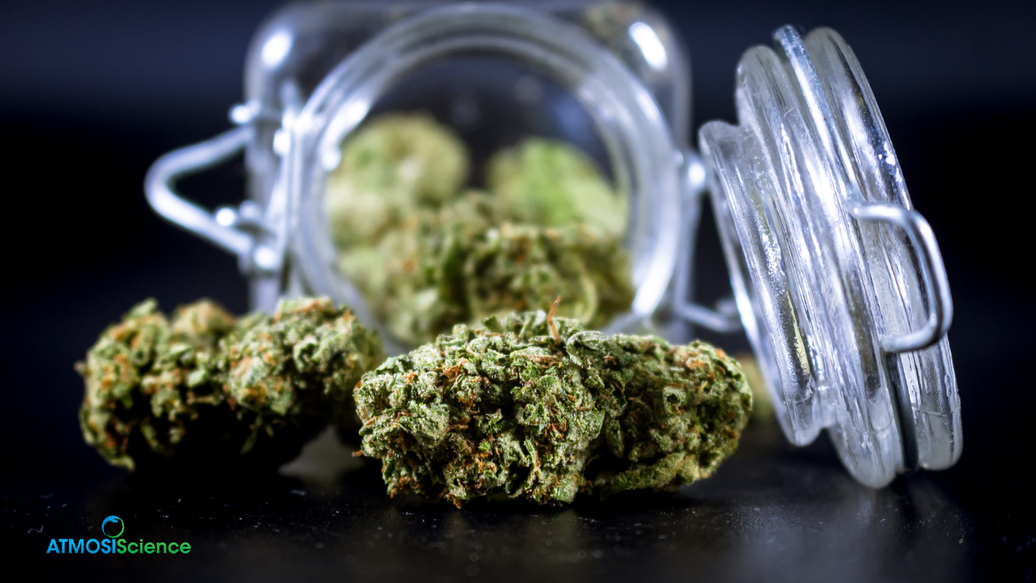
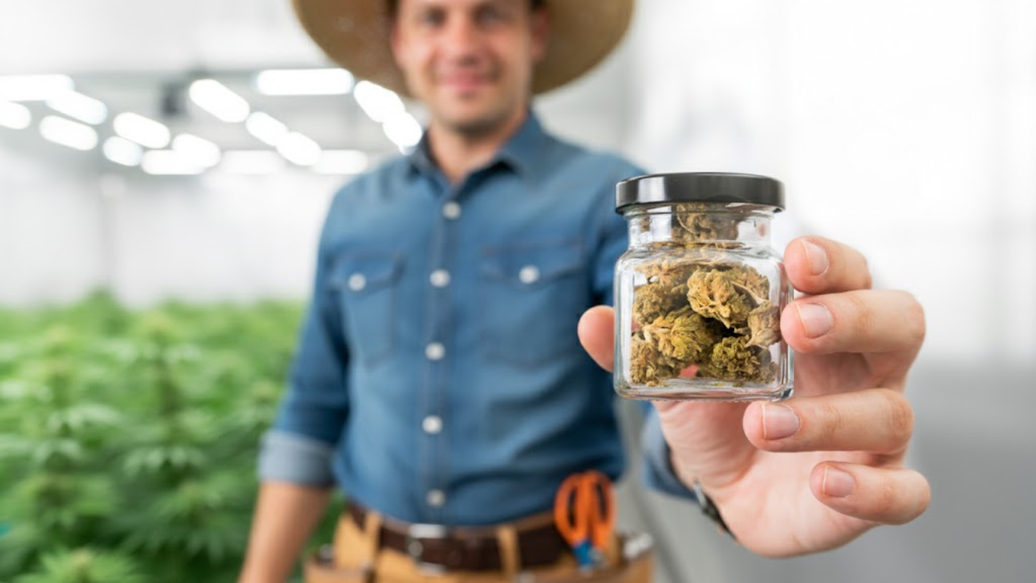
Jar selection and preparation
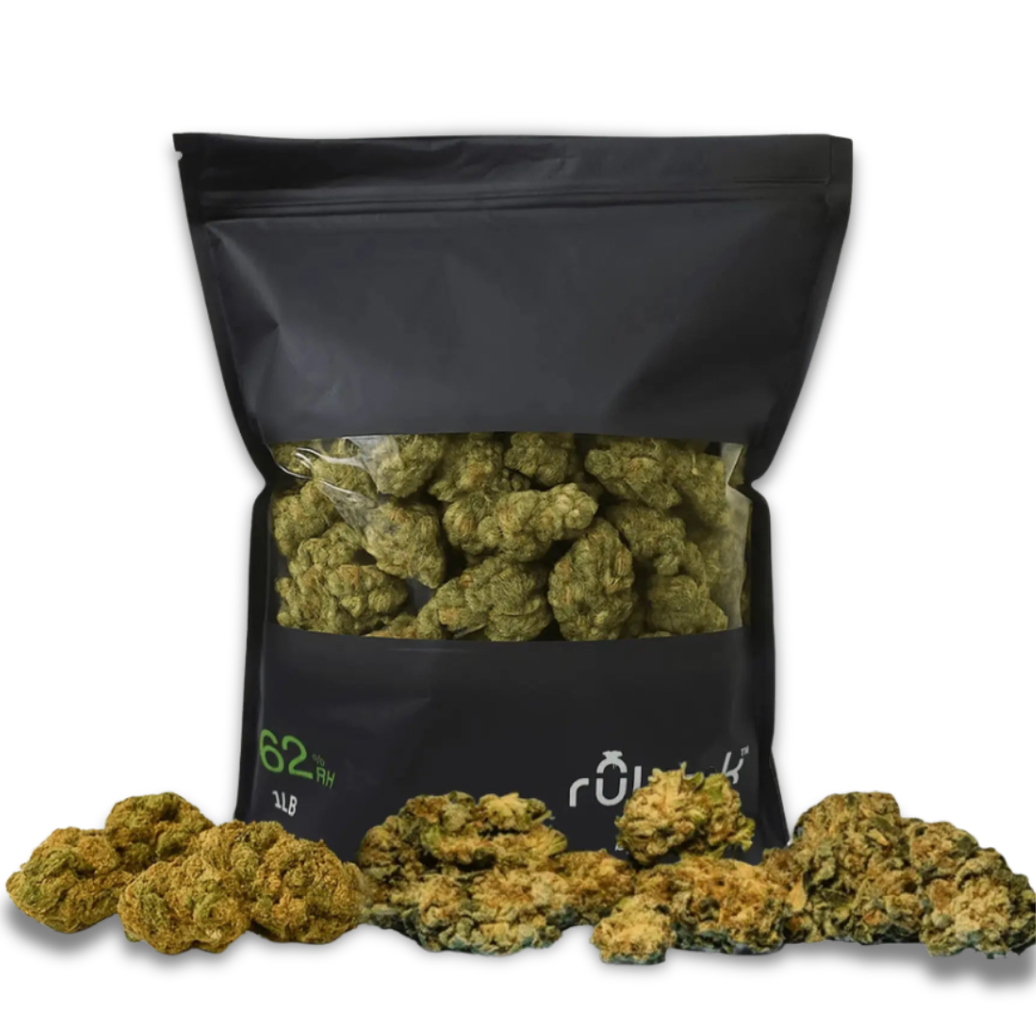
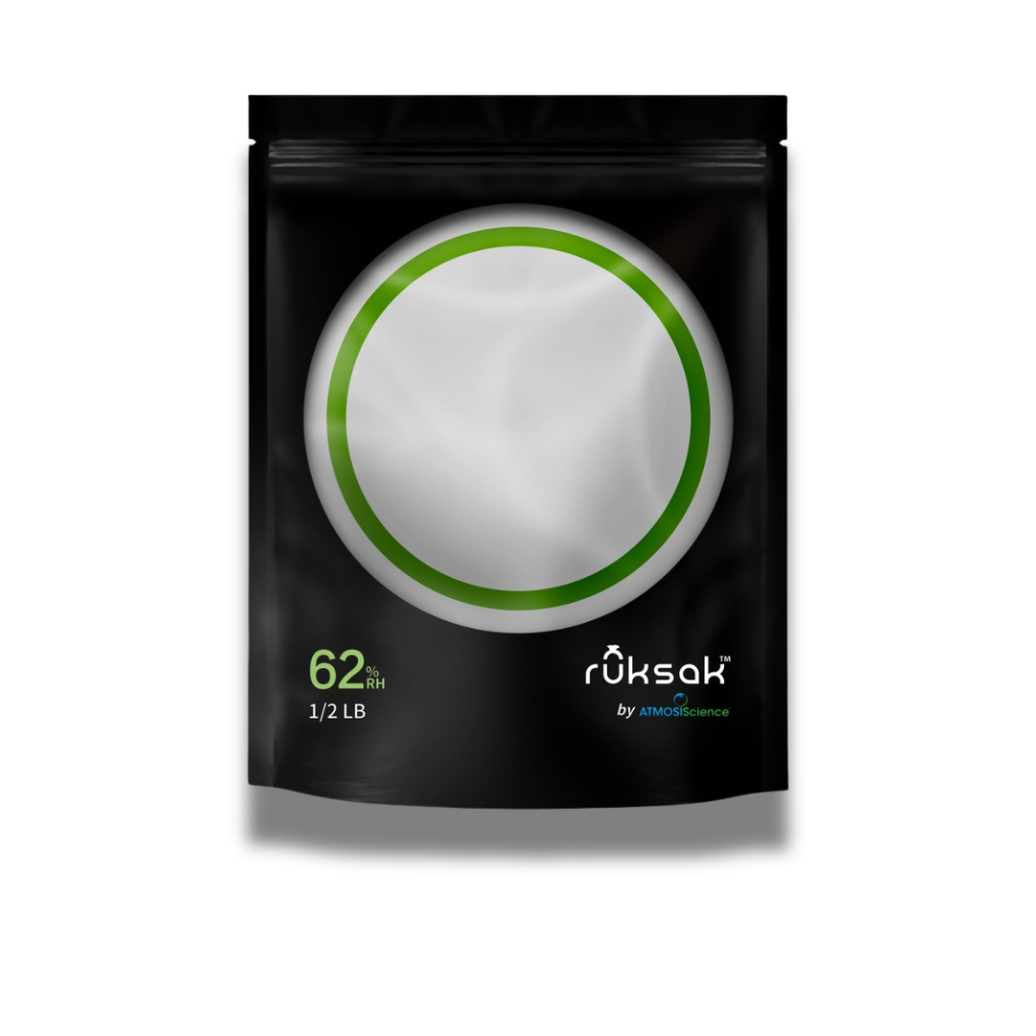
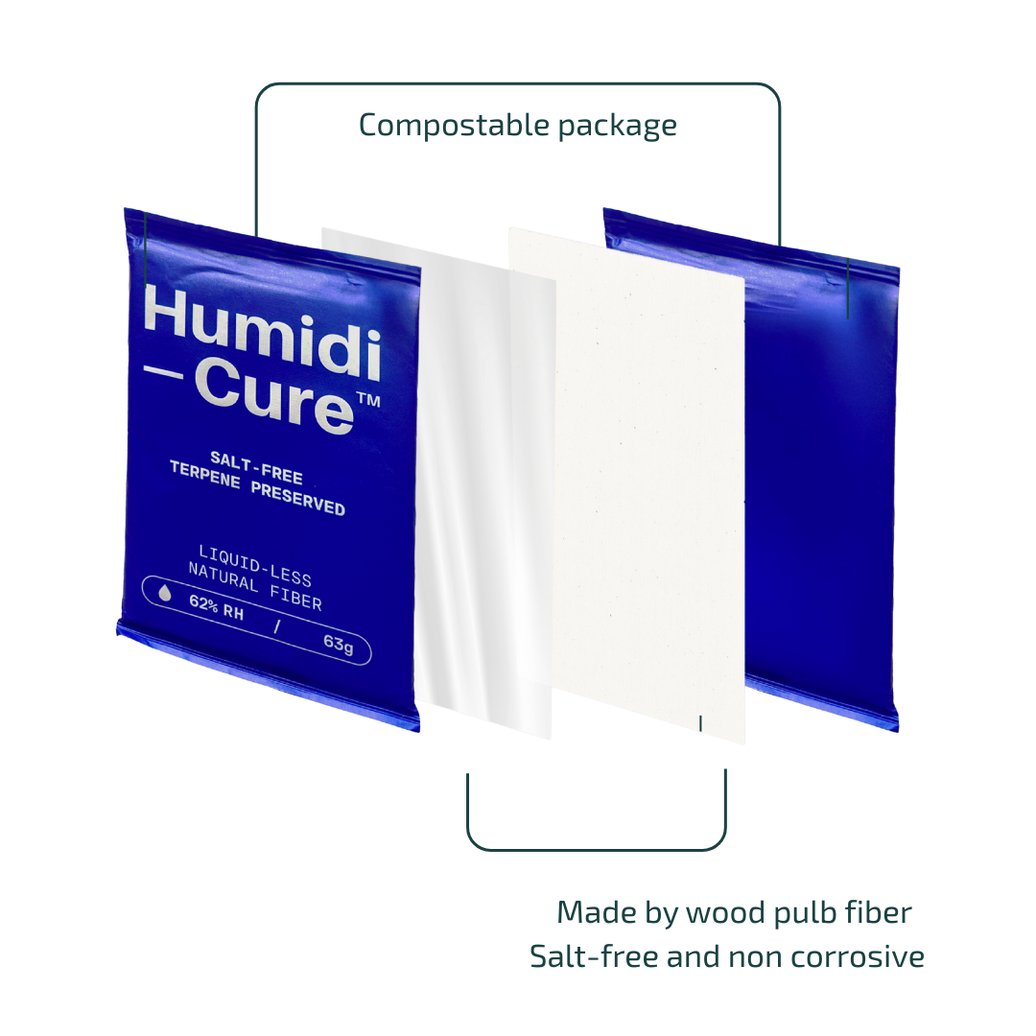
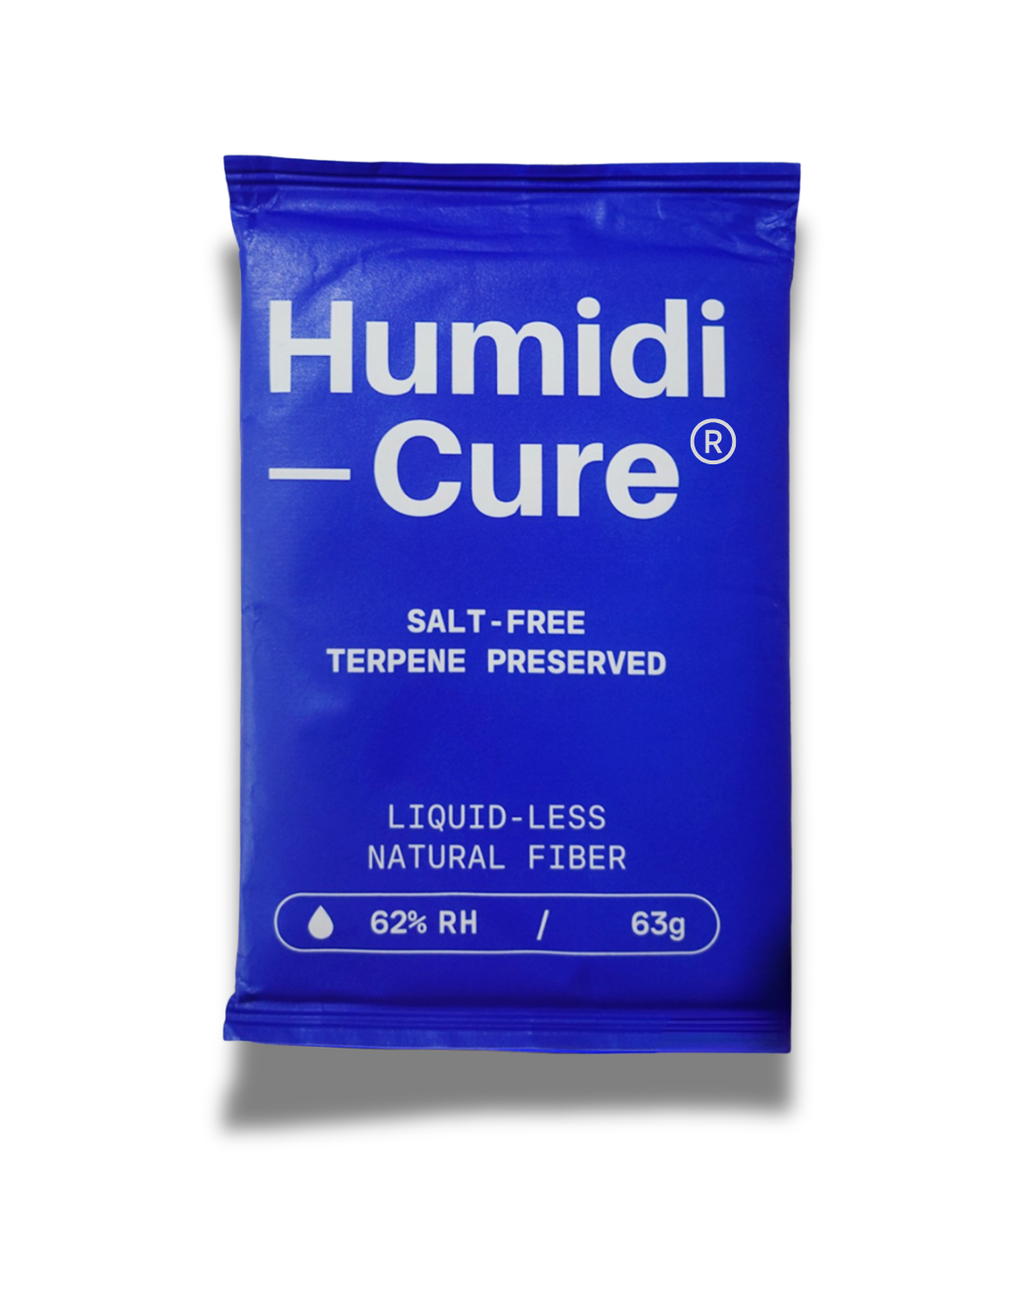
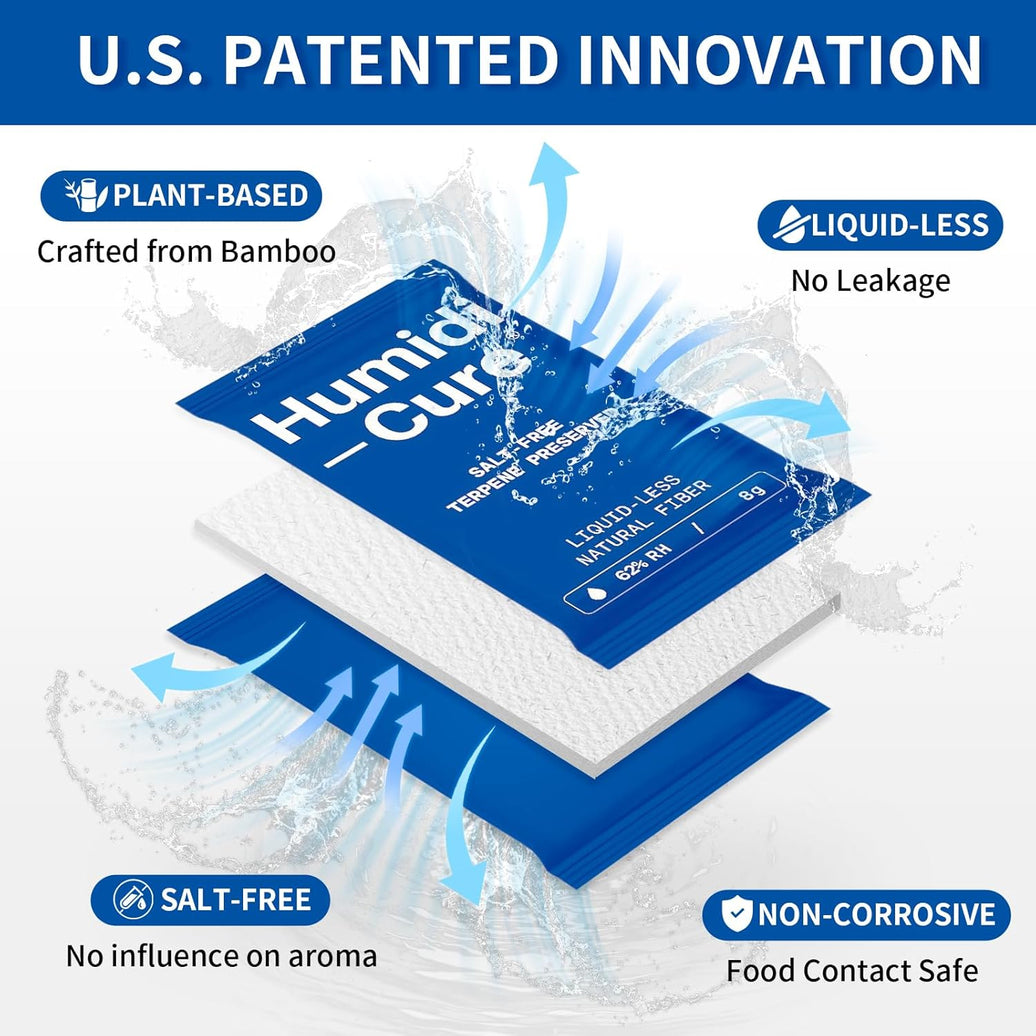
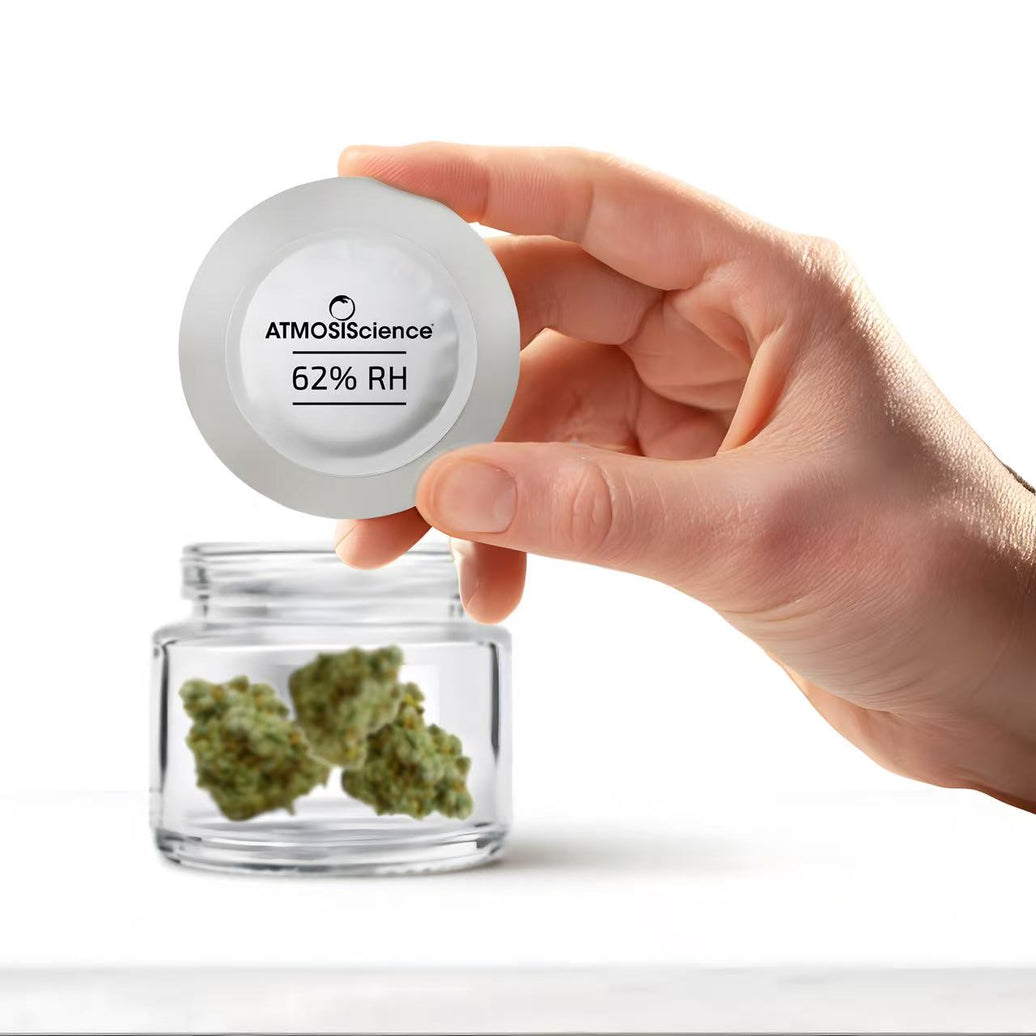
Use airtight glass jars to avoid plastics, which can impart unwanted flavors. Add humidity control packs (e.g., Humidi-Cure® from ATMOSIScience at 62% RH) to stabilize internal jar conditions. This step is crucial in harvesting drying and curing cannabis to prevent moisture spikes.

Initial burping (Days 1–14)
Open jars daily for 10–15 minutes. This releases excess moisture and replenishes oxygen, preventing anaerobic conditions that lead to mold. We recommend placing jars in a cool, dim area during burping to avoid light-induced terpene degradation.
Secondary burping (Weeks 3–6)
As moisture levels equilibrate, reduce burping frequency to once or twice weekly. During this phase, buds develop richer aromas as chlorophyll breaks down and terpenes stabilize.
Long-term cure (2–6 Months)
Extended curing deepens flavors and unlocks complex terpene profiles. Studies document up to a 25% increase in terpene diversity after four weeks of curing compared to immediate consumption. Aim for at least one month for optimal results.
Monitoring metrics
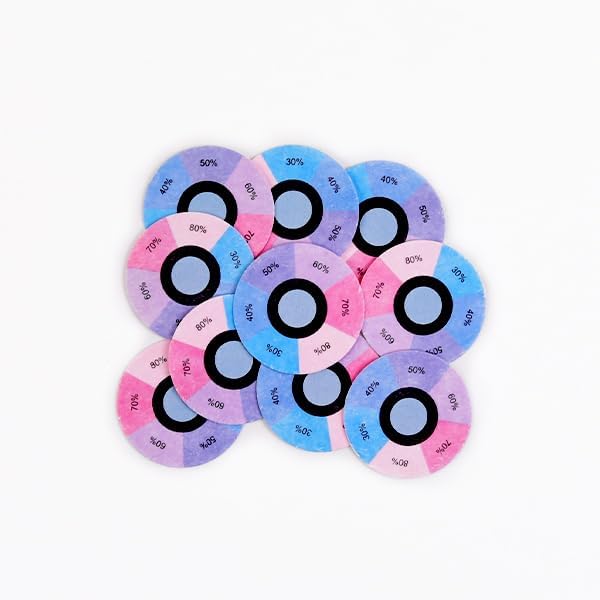
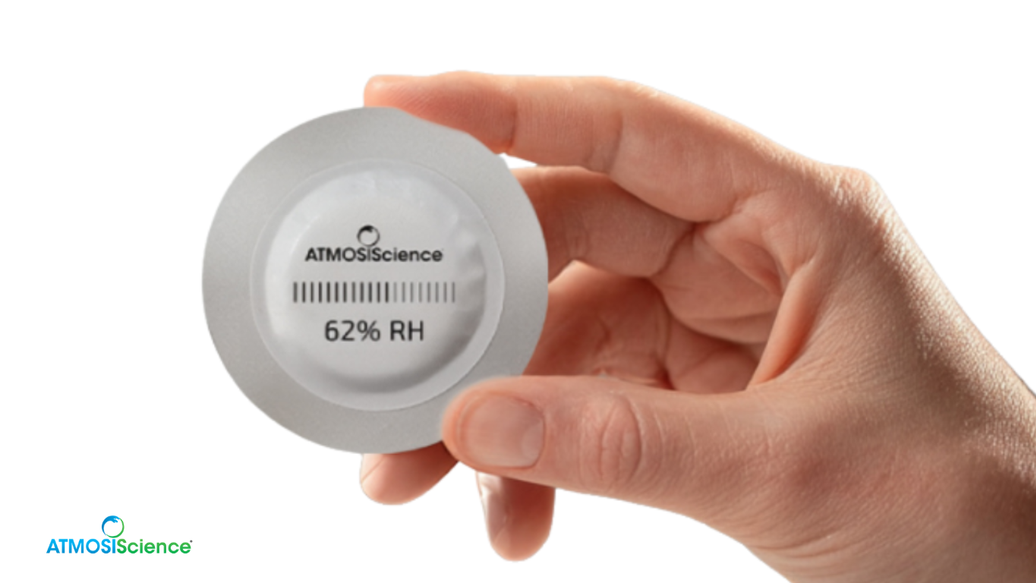
Use jar-mounted hygrometers to confirm stable 58–62% RH. Humidity packs can be swapped out to maintain this range. Tight RH control during cure prevents bud over-drying and maintains ideal moisture for terpene preservation.
Preventing mold and quality degradation
Even after curing, vigilance is key to sustain bud integrity during long-term storage.
Mold indicators
Inspect jars for any white or gray fuzzy spots. If detected, remove suspect buds, increase airflow, and consider a quick re-dry.
Microbial testing
For commercial operations or immune-sensitive consumers, third-party lab testing for microbial contaminants offers added safety assurance.
Preventive strategies
- Use desiccant jar liners or humidity control packs to buffer against moisture surges.
- Store jars in a cool (15–20 °C), dark environment to slow chemical degradation.

Dive deeper into advanced storage techniques in our related blogs:
- Optimal Weed Storage: Science-Backed Methods for Potency & Safety
- How To Store Your Weed (Best & Worst Methods)
Conclusion
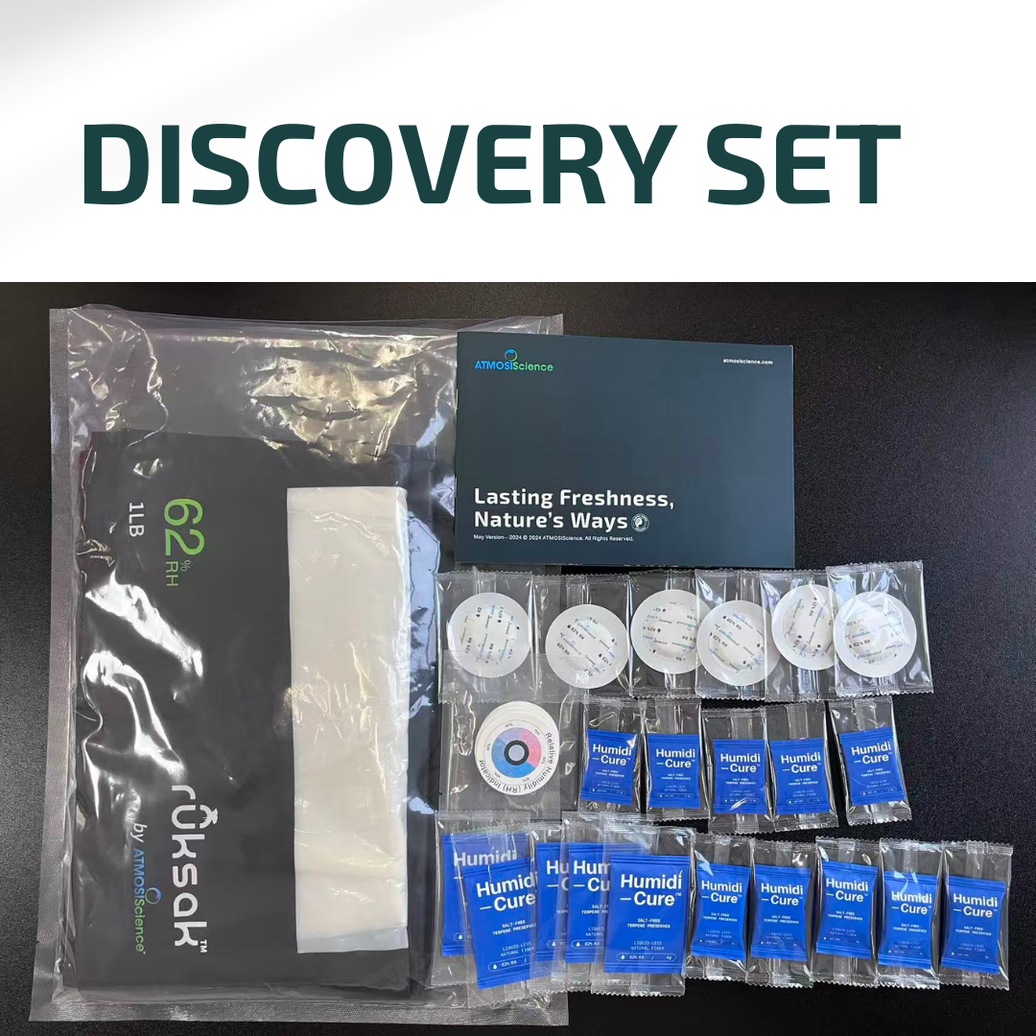
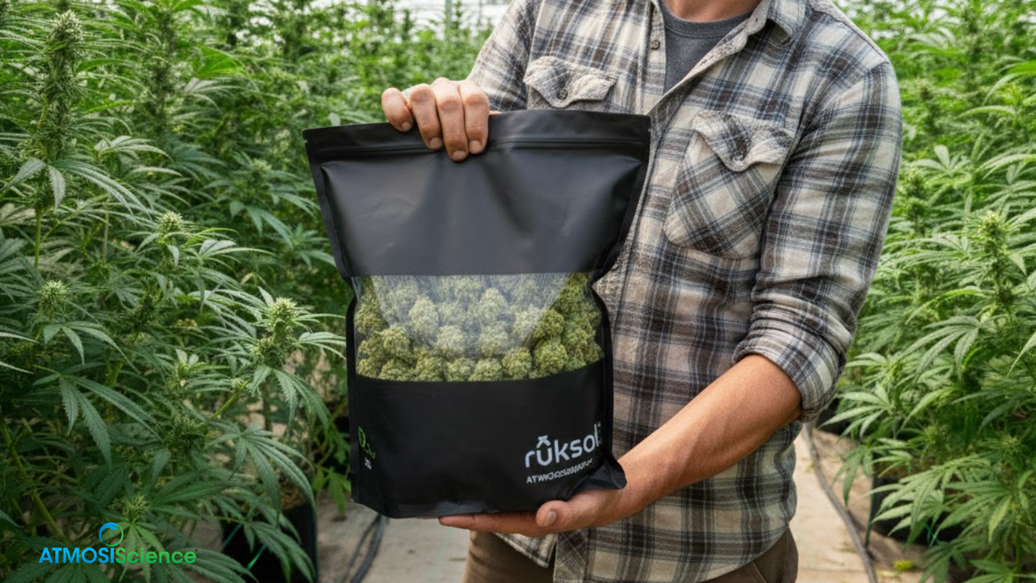
Proper execution of how to harvest cannabis and dry it, combined with meticulous curing, yields smooth, potent, and flavorful cannabis flower. By monitoring trichomes, controlling drying environments, and employing precision curing techniques, cultivators can dramatically elevate bud quality. Ready to preserve your harvest? Explore ATMOSIScience's Humidi-Cure® and ruksak bamboo bags for professional-grade storage. Subscribe to our newsletter for more in-depth guides on indoor gardening and cannabis cultivation.